DIY Neon Sign: The Ultimate Guide for Wedding Decor

DIY Neon Sign: The Ultimate Guide for Wedding Decor

Image Source: pexels

DIY Neon Sign: The Ultimate Guide for Wedding Decor

Create a stunning DIY neon sign to elevate your wedding decor and add a personalized touch to your special day. In this ultimate guide, we will provide you with step-by-step instructions and safety precautions to ensure a successful project. Whether you're a bride-to-be, wedding planner, or a DIY enthusiast, this guide is designed to help you create a homemade neon sign that will impress your guests. Personalize your neon sign with the perfect design and message that reflects the theme and ambiance of your marriage ceremony. Let's dive into the world of do-it-yourself neon signage and make your nuptials truly unforgettable.

Keywords Usage:

  • diy neon sign

  • wedding

Designing Your Personalized Neon Sign

Designing your personalized neon sign is an exciting part of the process that allows you to showcase your creativity and style. When choosing the perfect design and message for your homemade neon sign, it's important to consider the theme and ambiance of your wedding. Think about the overall aesthetic you want to achieve and how the neon sign will complement other elements of your decor.

Choosing the Perfect Design and Message

Start by brainstorming creative ideas for your neon sign design. Consider incorporating elements such as hearts, flowers, or even your initials to add a romantic touch. You can also opt for custom shapes or symbols that hold special meaning to you and your partner. Think outside the box and explore unique fonts and styles that align with your wedding theme.

Selecting the Essential Materials and Tools

Once you have a design in mind, it's time to gather the necessary materials for your DIY neon sign. You'll need flexible neon tubing, a power supply, connectors, mounting hardware, and a translucent backing board. Make sure to choose high-quality materials that are safe to use and durable.

In addition to materials, ensure you have the right tools for the assembly process. These may include wire cutters, pliers, a heat gun (for bending the tubing), adhesive tape or glue, and a level for proper installation. Having all the necessary tools on hand will make the process smoother and more efficient.

Keywords Usage:

  • diy neon sign

  • personalized signage

  • homemade neon sign

Image-1

Step-by-Step Guide to Assemble Your DIY Neon Sign

Assembling your DIY neon sign requires careful attention to detail and following the proper steps. In this step-by-step guide, we will walk you through the process of wiring and connecting your homemade neon sign, as well as adding personalization and troubleshooting common issues.

Wiring and Connecting the Neon Sign

Start by carefully reading and following the wiring instructions provided with your neon sign kit. Each kit may have specific requirements, so it's essential to understand the manufacturer's guidelines for a safe and functional sign. Pay attention to details such as wire colors, connectors, and power supply specifications.

Ensure proper connections by double-checking that all wires are securely attached and insulated. It's crucial to prioritize safety when working with electrical components. If you're unsure about any step, consult a professional or seek guidance from experienced individuals in online communities dedicated to do-it-yourself wedding projects.

Adding Personalization and Troubleshooting

Once your neon sign is wired and connected correctly, it's time to add personal touches that make it unique to your wedding decor. Consider incorporating elements such as flowers, ribbons, or other decorative accents that align with your overall theme. You can also experiment with different lighting effects or colors to create a more customized ambiance.

In case you encounter any issues like flickering lights or dimness, troubleshooting can help resolve these problems. Check for loose connections or damaged wires that may be causing the issue. Ensure that all components are properly aligned and securely fastened. If necessary, refer back to the manufacturer's instructions or seek assistance from experts in handmade wedding decorations.

Keywords Usage:

  • diy neon sign

  • wedding DIY

  • homemade neon sign

Image-1

Creative Ways to Showcase Your DIY Neon Sign at Your Wedding

Your DIY neon sign is a unique and eye-catching feature that can elevate your wedding decor. Here are some creative ways to showcase your homemade neon sign and make it a memorable part of your special day.

Incorporating the Neon Sign into Your Wedding Decor

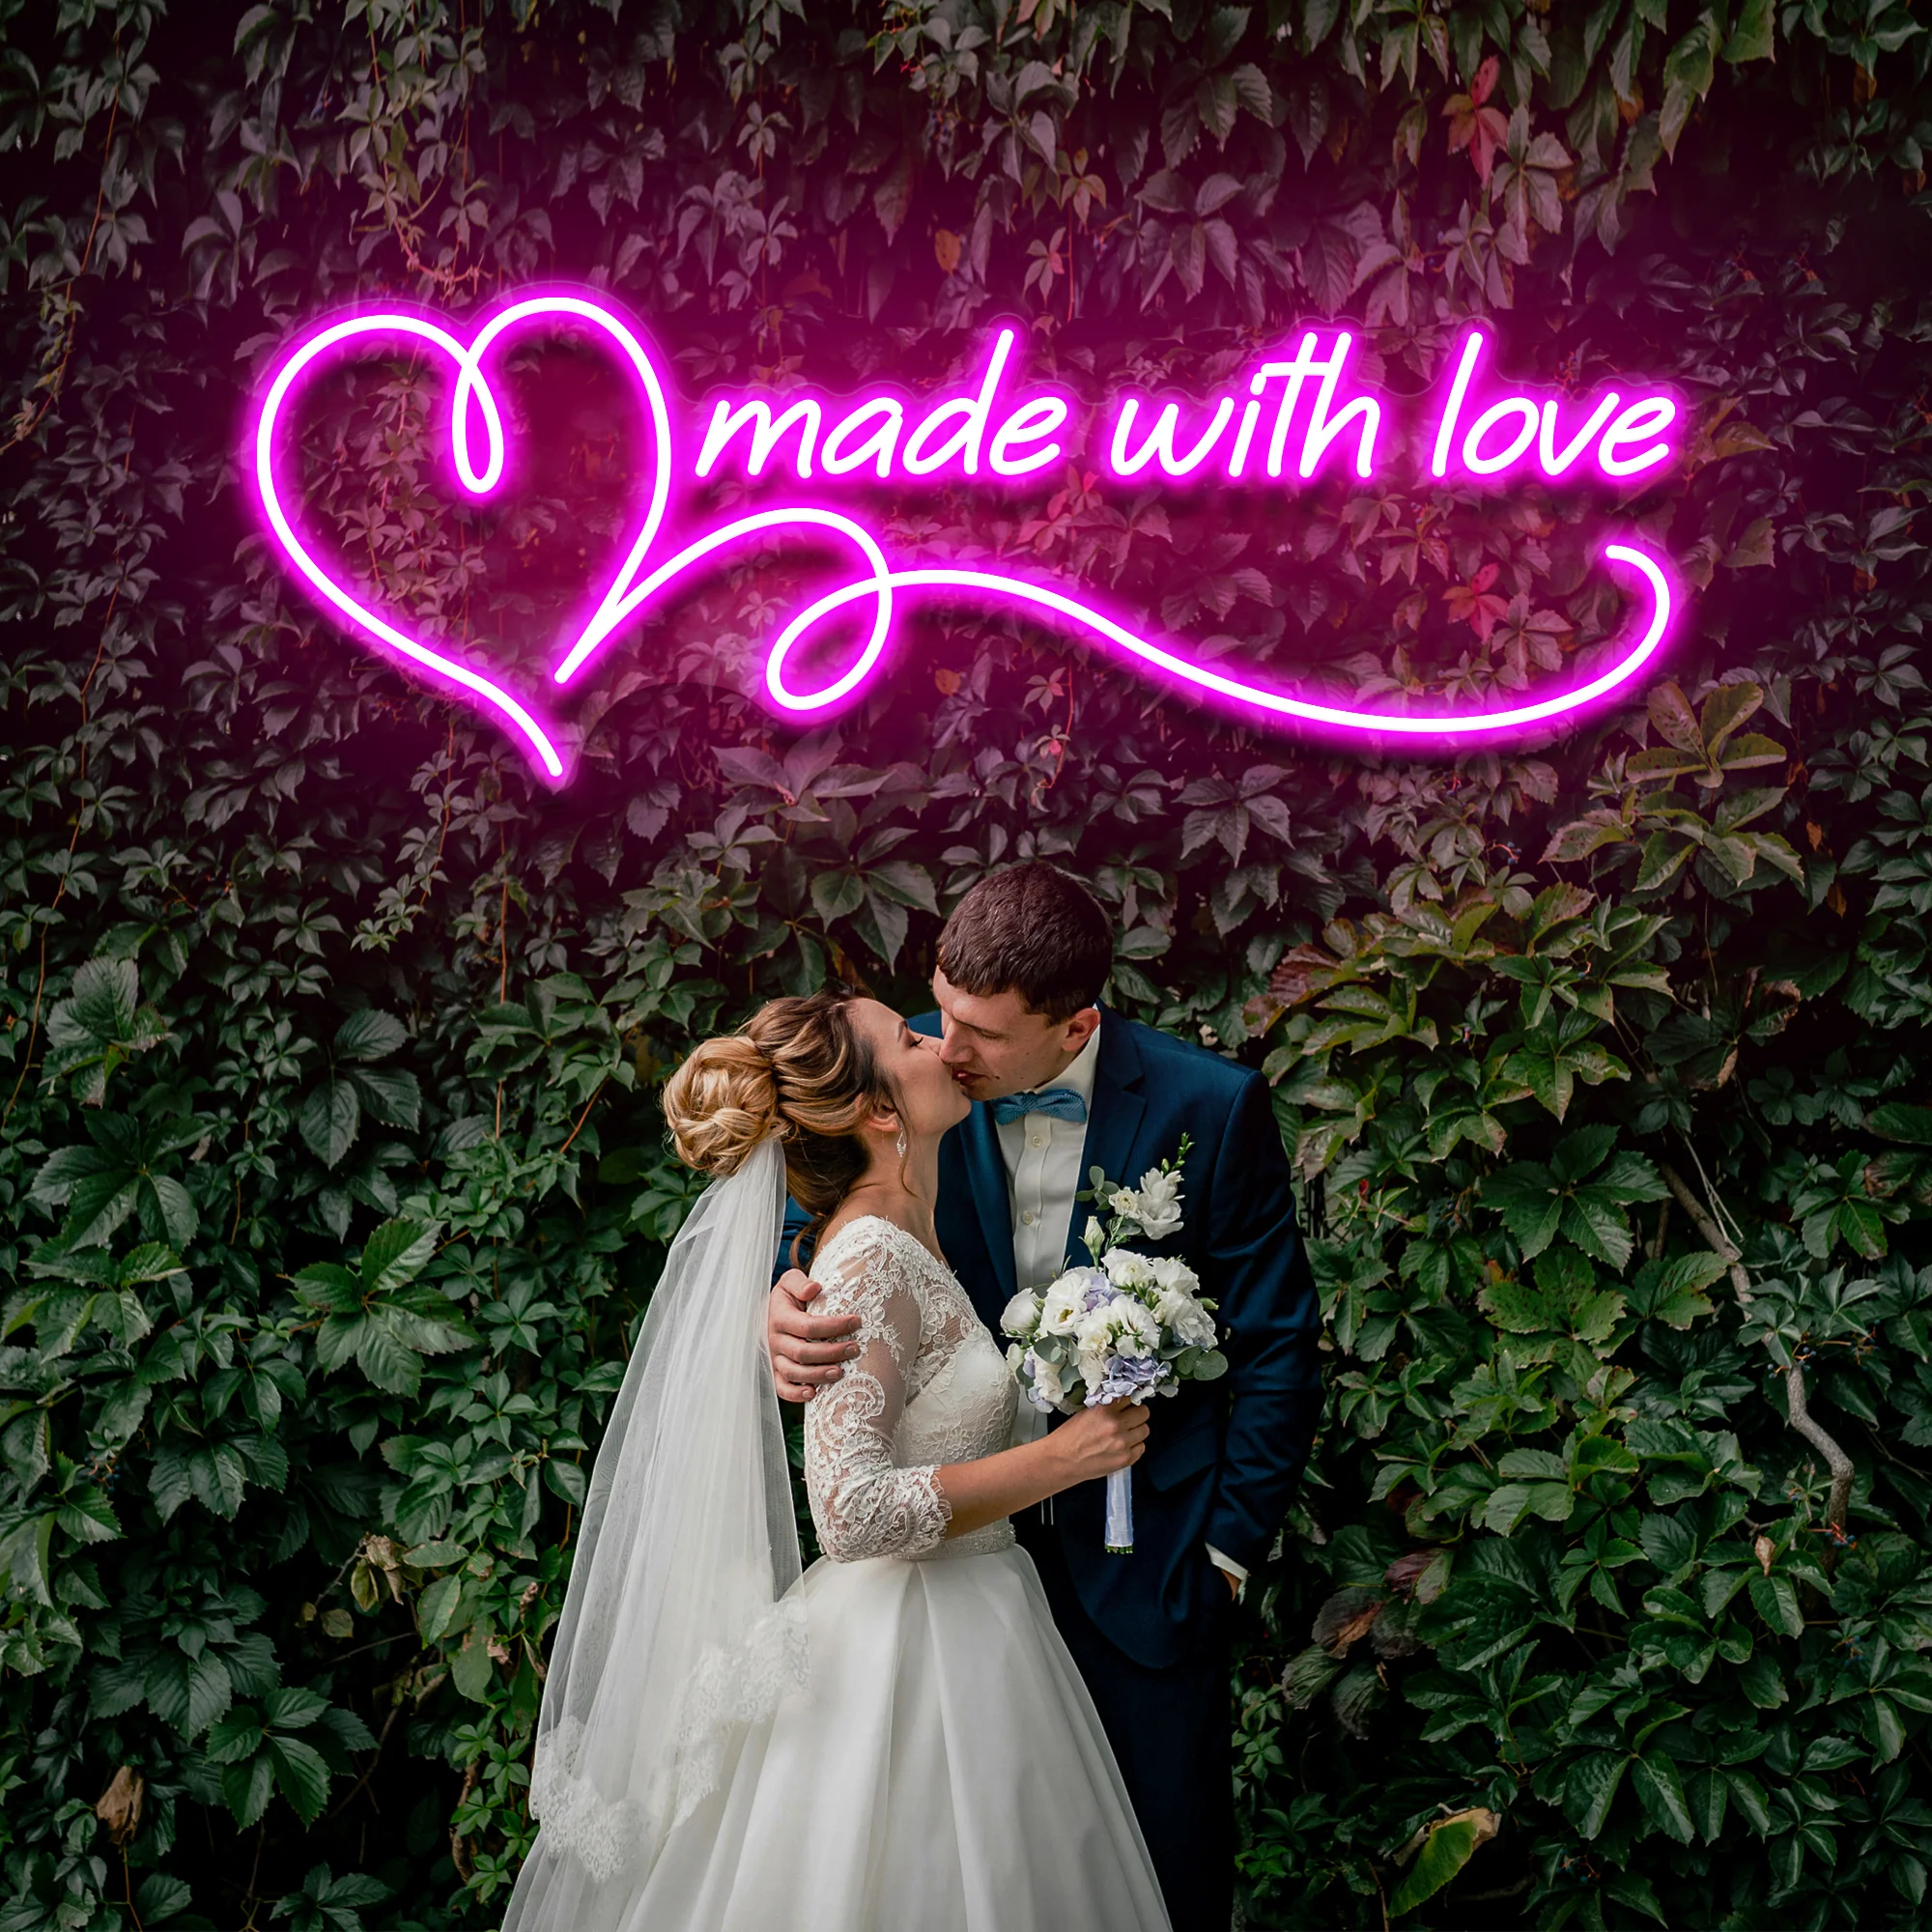
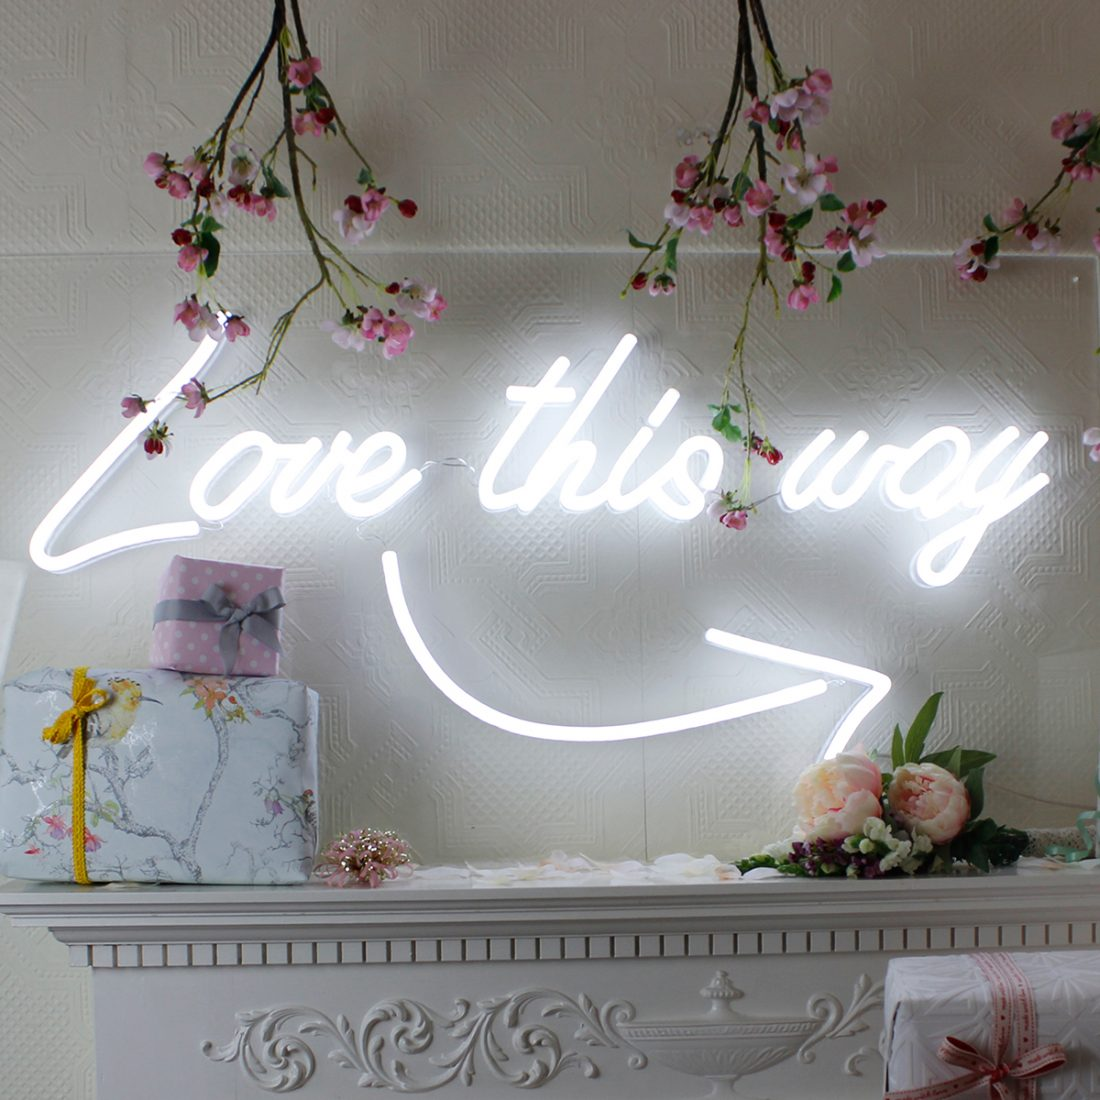
Choose strategic locations to display your neon sign, ensuring it becomes a focal point of your wedding decor. Consider placing it near the entrance to welcome guests or as a backdrop for the ceremony or reception. You can also incorporate the sign into photo booths, dessert tables, or behind the sweetheart table. Coordinate the sign with other wedding decorations by matching colors, themes, or fonts for a cohesive look.

To create an even more stunning effect, experiment with different lighting techniques. Dimming the surrounding lights and highlighting the neon sign will make it stand out and create a romantic ambiance. Get creative with positioning and angles to maximize its impact.

Inspiration and Resources for Further Exploration

Creating neon signs opens up a world of possibilities for future projects. Explore different neon sign designs online or visit local craft stores for inspiration. You'll find various styles, shapes, and sizes that can spark your creativity.

Additionally, there are numerous online resources and communities dedicated to neon sign making. Join forums or social media groups where you can connect with fellow enthusiasts, share ideas, and learn from experienced crafters. These resources provide valuable insights into techniques, troubleshooting tips, and recommendations for reliable suppliers.

With these sources of inspiration and support, you can continue crafting with neon lights beyond your wedding day.

Keywords Usage:

  • diy neon sign

  • neon sign making

  • homemade neon sign

Elevate Your Wedding Decor with a DIY Neon Sign

Adding a DIY neon sign to your wedding decor is an excellent way to infuse your personal style and create a memorable atmosphere. By incorporating this unique and eye-catching feature, you can impress your guests and make your special day truly unforgettable.

A homemade neon sign adds a personalized touch that reflects your love story and enhances the overall ambiance of your wedding. It serves as a stunning focal point, drawing attention and creating a captivating backdrop for photos and cherished moments.

Not only does a DIY neon sign elevate your wedding decor, but it also opens up endless possibilities for future creative projects. As you explore the world of neon sign making, you'll discover new ways to incorporate decorative elements into weddings and other events.

So why not take the leap and embark on this exciting journey of crafting your own do-it-yourself neon signage? Let your creativity shine as you design, assemble, and showcase a one-of-a-kind homemade neon sign that will leave a lasting impression on everyone who attends your wedding.

Keywords Usage:

  • diy neon sign

  • wedding decor

  • homemade neon sign

About US

Follow Us

Rebow was founded in 2014 which is a company dedicated to creating high-end neon art in the world.With over 5000 square meters dust-free workshop, automatic production lines, modernized equipments and 100 employees,20 engineers, 30QC etc.qualitified work team.

Address

Address:1608,Unit C,No.37,west gemstone road,longteng community ,shiyan street ,bao an district ,shenzhen,China

Contacts
WhatsApp:008615970364397